We Turned Our Cover Into a Paper Airplane. Here's How to Fold It
Here at Popular Mechanics, our fascination with paper airplanes runs deep. We decided to celebrate its fascinating history—as well as its surprising contribution to the field of aerodynamics and engineering—in our July/August issue.
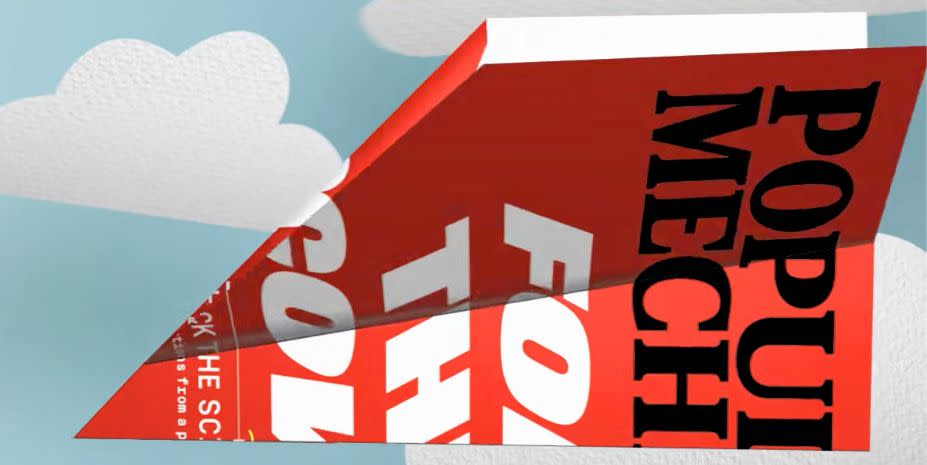
Graphic designer, author, and paper plane fanatic Kyle Boyer designed our cover plane, called the Alpha Lock. It’s specially crafted to fly far, fast, and straight, and it has an interior pocket that locks the wings in place to ensure a stable flight.
We’ve included step-by-step instructions below on how to fold the plane, but you can also follow along as Kyle folds an Alpha Lock paper plane in the video below.
ALPHA LOCK INSTRUCTIONS
PRO TIP Make sure each fold is as crisp as possible.
Step 1
Remove the cover from the magazine by cutting along the dotted line. Start by flipping the cover upside down.
Step 2
Fold the sheet in half, lengthwise. (The front of the cover should be on the inside of the fold.)
Step 3
Open the sheet up, flip it over, and fold the top edge down along the horizontal black line near the center of the sheet.
Step 4
Open the sheet again and fold the top edge to the crease you just formed in Step 3.
Step 5
Open the sheet up once more and fold the top edge to the crease you created in Step 4.
Step 6
Next, fold the top portion of the sheet down along the first horizontal crease you made.
Step 7
Fold both top corners down and in toward the center of the sheet. This should form a triangular shape.
Step 8
Open those triangular flaps back up.
Step 9
On each side, fold the outer corner of the sheet into the creases you just made in Step 8, leaving a small gap between each edge and its respective crease.
Step 10
Now fold both of the plane’s top corners down and in toward the center, along the crease you made in Step 8. This should form a small pocket at the plane’s center.
Step 11
Spin the plane so it is pointed toward you. Next, pull the left side of the interior pocket toward the front of the plane and crease it along the edge of the left flap. Repeat this step on the right side.
Step 12
Fold the plane in half. (The interior pocket will swing forward.)
Step 13
Fold the first wing along the solid line. (Make sure the top edge of the wing aligns with the joint created by the interior pocket.)
Step 14
Flip your plane over and repeat this step for the other wing. Both wings should now be locked in place. Your plane is ready to fly!
NEED TO MAKE AN ADJUSTMENT?
Every paper plane has adjustable control surfaces that can, if minutely tweaked, affect how smoothly it flies.
Tweaking the rudder on your plane—by folding it slightly to the left or right—will affect the yaw. The most important control surfaces on our plane are the back edges of the wings, or elevons. If you find that your plane pitches down toward the ground, fold the elevons up slightly, to increase lift. If your plane starts to roll, you can adjust the elevons to stabilize it. If it rolls to the left, bend the right elevon up slightly, and vice versa.
Bending the wings upward slightly, so they are at a dihedral angle, can also increase the stability of your plane. This does increase drag, so you may lose a bit of lift.
Yaw refers to the rotation of the plane around the vertical axis.
Pitch refers to the rotation of the plane around a side-to-side axis.
Roll refers to the rotation of the plane around the front-to-back axis.
You Might Also Like
