Chills and thrills: Chocolate Dipped No-Churn Ice Cream Cones delight | King
Easy-to-make Chocolate Dipped No-Churn Ice Cream Cones are a definite winner with both children and adults as the hot summer days approach.
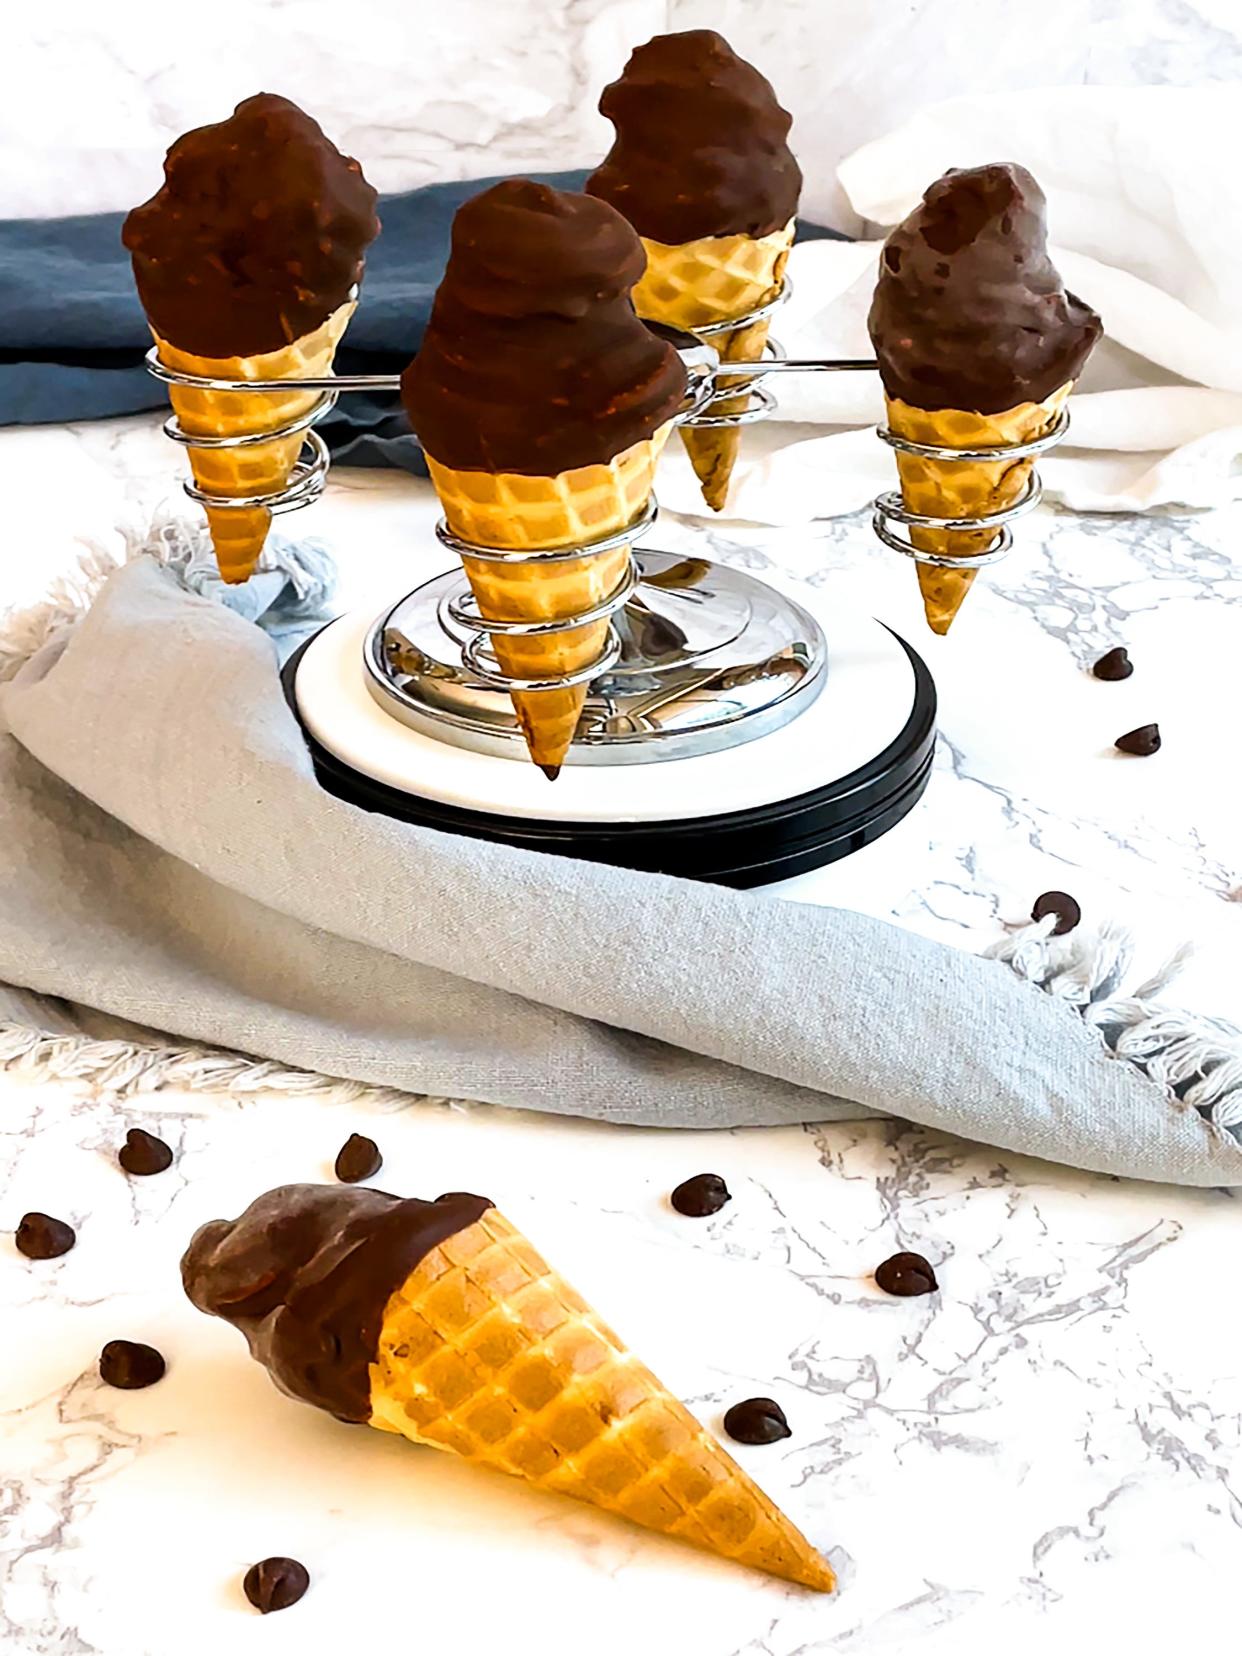
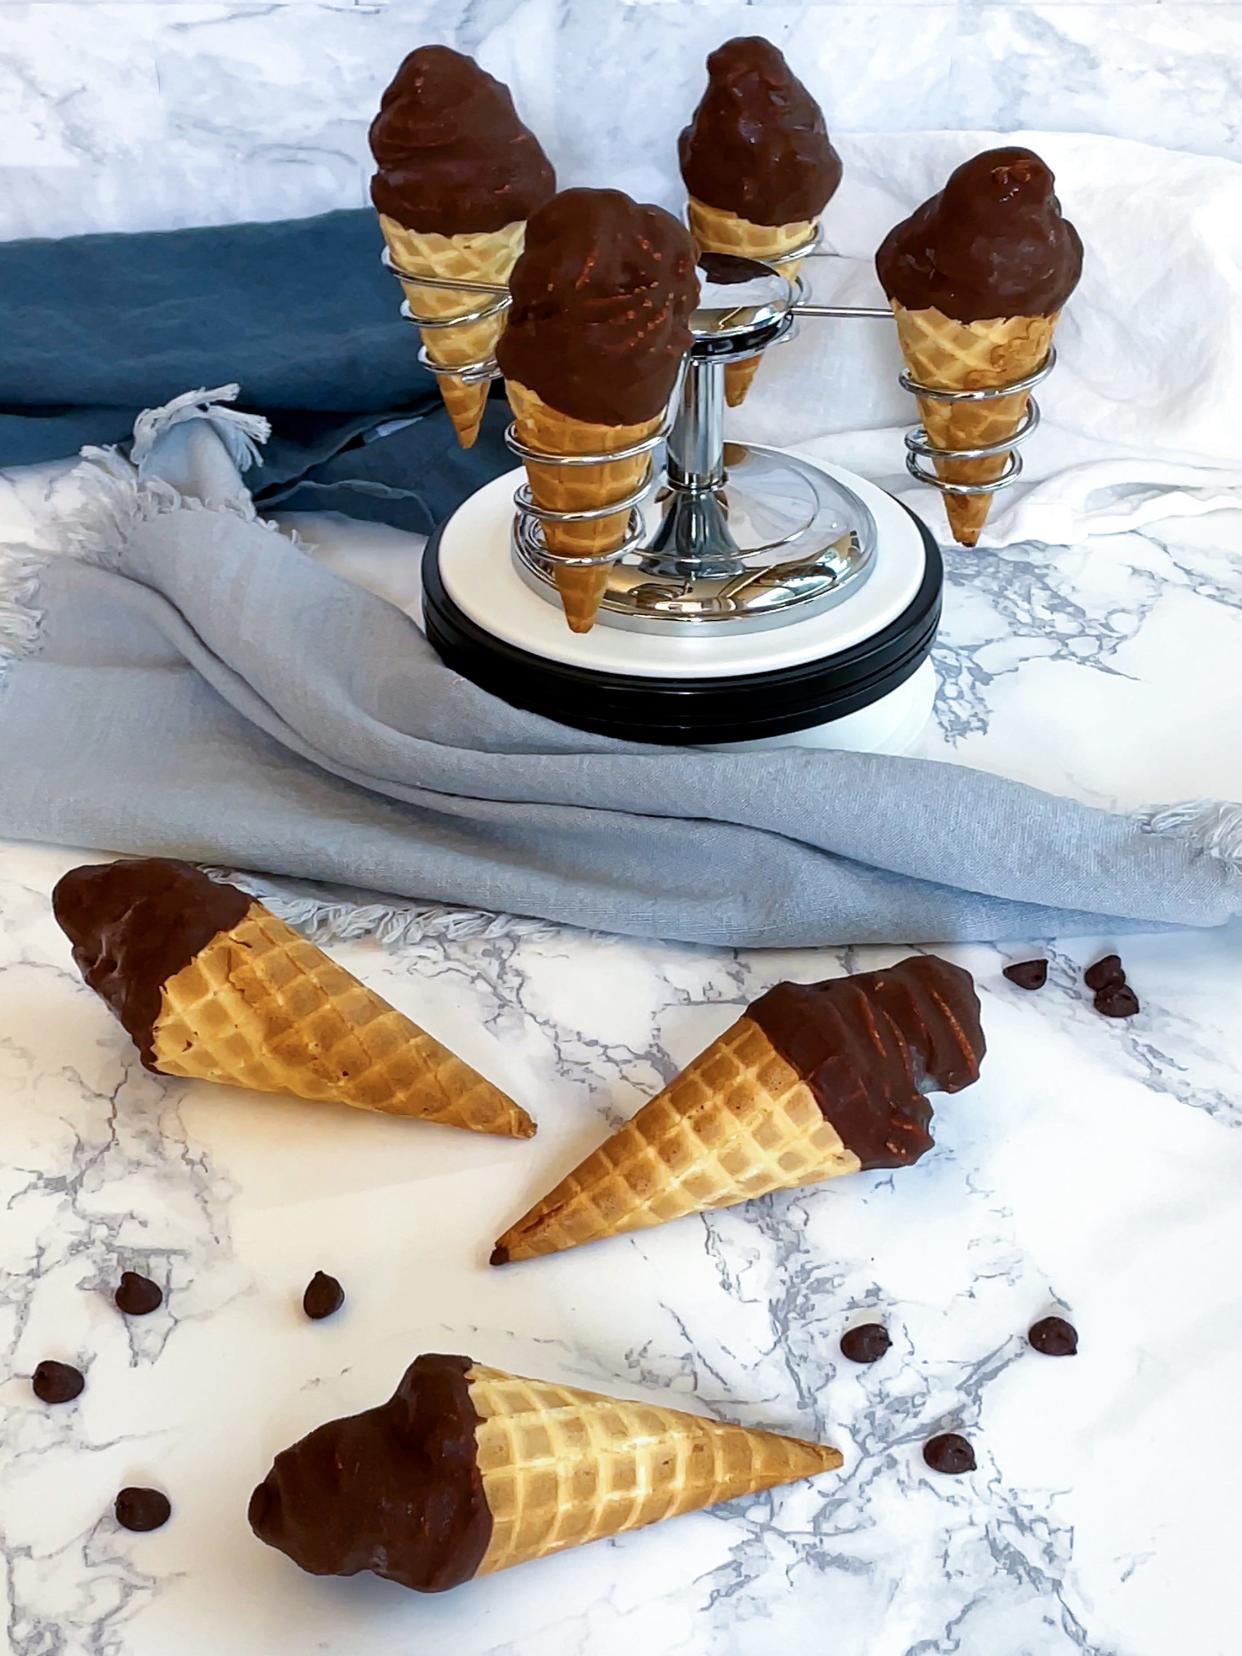
The no-churn ice cream initially has the consistency of soft-serve, making it perfect for piping into waffle cones that have been coated in chocolate. The winning touch is the crispy magic shell coating the ice cream.
Dessert recipe: A classic Italian dessert, panna cotta is sure to melt hearts | Rigsby
Breakfast bread: Get your breakfast mojo on with a nutty 'life-changing' loaf of bread | Welch
Restaurants: Lucilla charms with tasty small plates, big flavors and cozy atmosphere | Restaurant review
Why you’ll love this recipe
Simple: It may not look simple, but putting this recipe together is easy with just a handful of ingredients.
Perfect for when you want a treat: Once these chocolate dipped cones are made, they can be stored in the freezer for when you’re craving an awesome treat.
Everyone will love them: This treat is amazingly delicious. Everyone from young to old will thank you!
These are the ingredients that you’ll need
This recipe has three categories of ingredients: the magic shell ingredients, the waffle cones and the no-churn ice cream ingredients.
Magic Shell: The magic shell is truly magic as it instantly hardens when in contact with the cold ice cream. With all of the magic, the magic shell is made with only two ingredients: semi-sweet chocolate chips and coconut oil. Both refined and unrefined coconut oil is available in the grocery store. The unrefined coconut oil retains a strong coconut flavor. The refined coconut oil doesn’t have the coconut flavor. My choice is the refined coconut oil.
Waffle Cones: The waffle cones are store-bought and are, well, waffle cones. There’s no need to make your own here.
No-Churn Ice Cream: My ice cream of choice for these amazing chocolate dipped cones is vanilla. Only three ingredients are required — heavy cream, vanilla extract and sweetened condensed milk.
The chocolate dipped waffle cones are crispy with a chocolate surprise in their interior coating. The no-churn ice cream is velvety smooth with just the right amount of sweetness. The crowning glory is the crispy magic shell covering the ice cream. Prepare to be amazed.
Chocolate Dipped No-Churn Ice Cream Cones
Yield: 12 Chocolate Dipped No-Churn Ice Cream Cones
Equipment
Empty egg carton to hold the cones upright.
Ingredients
1 cup (6-ounces) semi-sweet chocolate chips
¼ cup (2-ounces) coconut oil
12 store-bought waffle cones
2 cups (16-ounces) heavy cream, chilled
¾ cup (8-ounces) sweetened condensed milk (use more for a sweeter ice cream)
2 teaspoons vanilla extract
Directions
Use an empty Styrofoam egg carton to hold the cones upright. To do this, I turn the egg carton upside down and cut holes in the bottom of the egg cups using an X-Acto knife or small paring knife.
To make the magic shell, microwave chocolate chips on 50% power in 30-second increments, stirring between increments until the chocolate chips are melted. Set aside.
Using kitchen shears, carefully cut the waffle cones to about 3½ to 4 inches. Place upright in egg carton. Discard the scraps or use for another purpose.
Coat the inside of the cones with the magic shell mixture, allowing the excess to drip back into magic shell mixture. Freeze until firm, about 10 minutes.
Beat heavy cream on high in a chilled bowl until soft peaks form, a little over a minute. While beating and add vanilla extract and sweetened condensed milk. Continue beating until stiff peaks form, another minute or so.
Transfer no-churn ice cream to pastry bag fitted with 1M star tip. Pipe the ice cream into prepared cones. Place in freezer until the ice cream is firm, about an hour.
Reheat remaining magic shell mixture in the microwave on 50% power for 15 seconds. Dip ice cream into magic shell mixture being sure to thoroughly coat ice cream and top of cone. Allow excess chocolate to drip off. Place in freezer.
Chula's tips
You can use either refined or unrefined coconut oil. However, unrefined coconut oil will have a strong coconut taste whereas refined coconut oil has hardly any taste. My preference is to use the refined coconut oil.
I like to use the waffle cones in this recipe, but you could also use regular sugar cones. It might seem wasteful to cut down the cones, but the reduced size cones make the perfect size treat.
For a sweeter ice cream, use up the whole can of sweetened condensed milk. Discard unused sweetened condensed milk or use for another purpose.
When making the magic shell, it takes about 2 minutes in my microwave for the chocolate chips to melt on 50% power. It may take more or less depending on the wattage of your microwave.
I like to put the bowl and beaters in the freezer for about 5 minutes before whipping the cream. This helps to produce and maintain a proper structure.
If you don’t have a pastry bag and/or piping tip, you can pipe the ice cream using a Ziploc bag with the corner snipped off. You could also scoop the ice cream into the cones.

Chula King is the blogger behind PudgeFactor.
This article originally appeared on Tallahassee Democrat: Cool off on hot day with Chocolate Dipped No-Churn Ice Cream Cones
