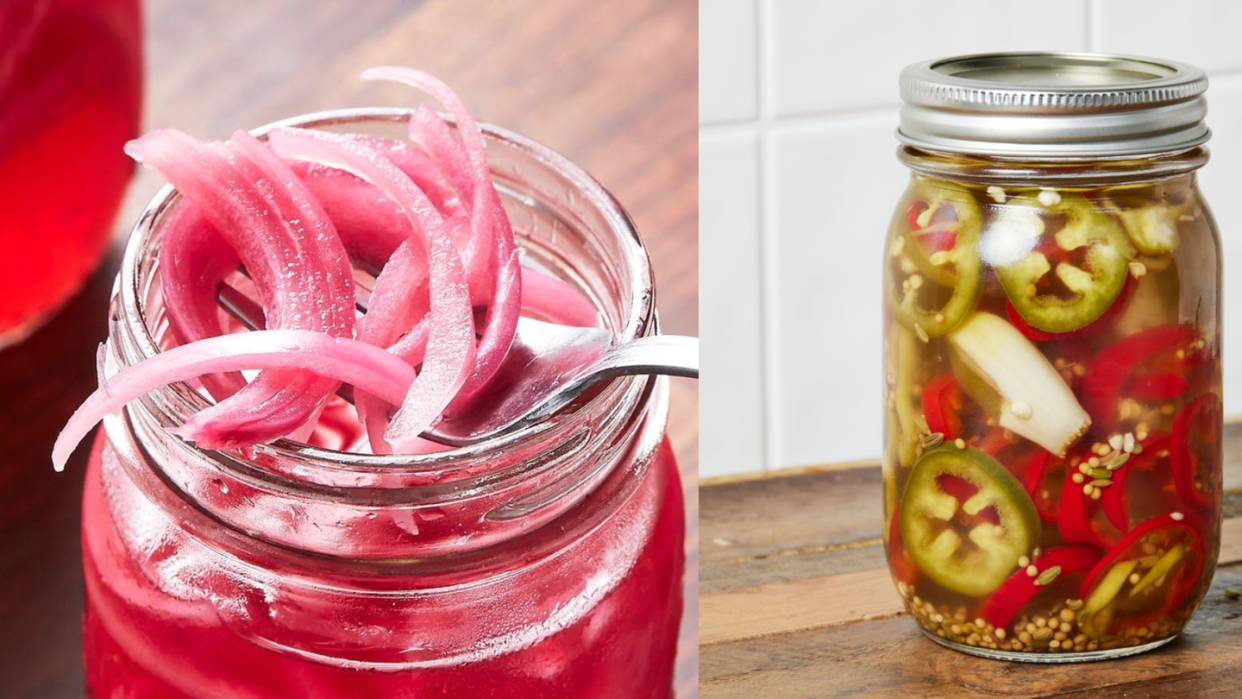
Don't Break The 7 Golden Rules Of Quick Pickling
Do you love crunchy, tangy snacks? Are you looking to transform your dinner into a restaurant-worthy dish? You need to try quick pickling.
Using just a few pantry staples, quick pickling will transform the odds and ends in your crisper drawer into a delicious, impressive condiment.
In its most basic form, a quick pickle is a method of pickling where food—usually vegetables or fruits—is submerged in vinegar that’s been seasoned with salt (and often sugar and other aromatics, too). Over just a few hours, the produce is infused with the flavor of the brine, picking up the tang from the acid as well as the seasoning from the salt and other aromatics. That’s the short and sweet (or sour!) explanation.
In nerdier terms, the brine actually works as a preservative, with the acid from the vinegar slowing down the food’s biological breakdown. So not only is quick pickling a great way to transform vegetables and fruits into delicious snacks and restaurant-worthy toppings for dinner, it’s also a fun way to preserve extra produce.
You can quick pickle anything, from cucumbers to cabbage to cherries. The process is so simple you don’t need a recipe, but there are a few key things to keep in mind. Here are my seven golden rules of quick pickling:
1. Choose the Right Vinegar for Quick Pickling
The ideal vinegar for quick pickling has 5-6% acidity and a fairly neutral flavor. If the acidity is too low, the vinegar won’t be strong enough to actually do the pickling. And while the vinegar’s tang is key to flavoring the pickle, you don’t necessarily want it contributing any other strong flavors to this pickle party: those will come from the thing you’re pickling as well as any herbs or spices you add to the brine. I typically opt for simple distilled white vinegar, but white wine vinegar or apple cider vinegar will also work.
2. Get Your Ratios Right for the Brine
Beyond the vinegar, the most important component in the brine is salt. Kosher salt is the best type to use (or canning salt, if you happen to have it); table salt often contains caking agents that can cloud the brine.
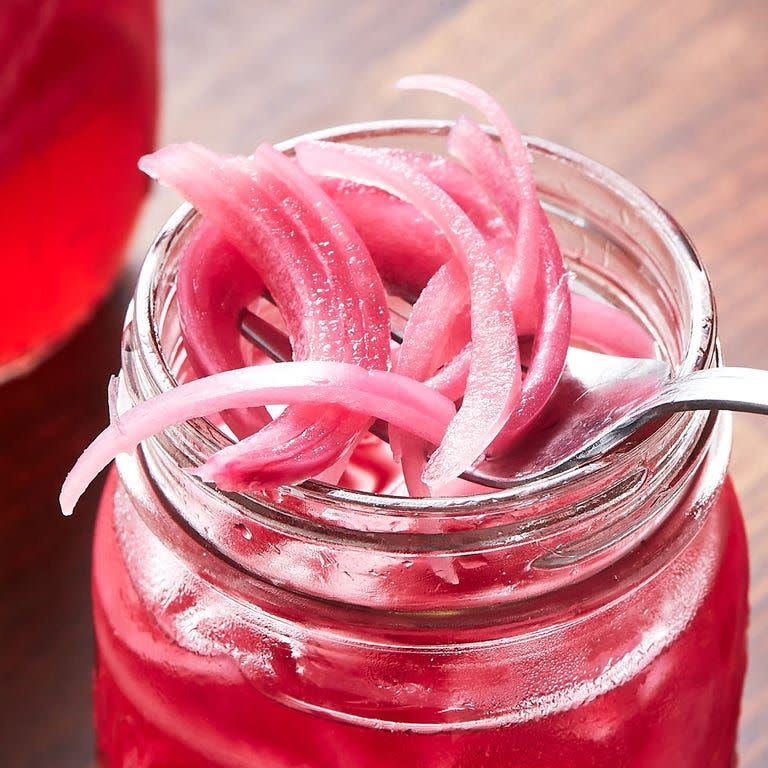
While recipes may vary, my preferred ratio is ½ teaspoon Diamond Crystal kosher salt for every ¾ cup vinegar. I typically add ½ teaspoon granulated sugar to this mix as well. Sugar isn’t strictly necessary for the brine to work, but I find that it helps to balance the acidity so I usually add it, even when pickling something savory like a red onion. With this master brine ratio in hand, you can pickle anything from cauliflower to cherry tomatoes.
3. Add Water if You Want, But Be Careful
Many people like to dilute the vinegar in their brines by adding up to 50% water. While this might be smart in situations where the vegetable or fruit is especially fibrous, beware of adding water if you're pickling something with a high water content, such as cabbage. In these instances, the produce will release water as it’s pickled, naturally diluting the brine. If you’ve already added water, chances are your brine will become too weak to actually pickle, and you’ll be left with faintly tangy water-logged vegetables.
4. Add Aromatics to Your Brine
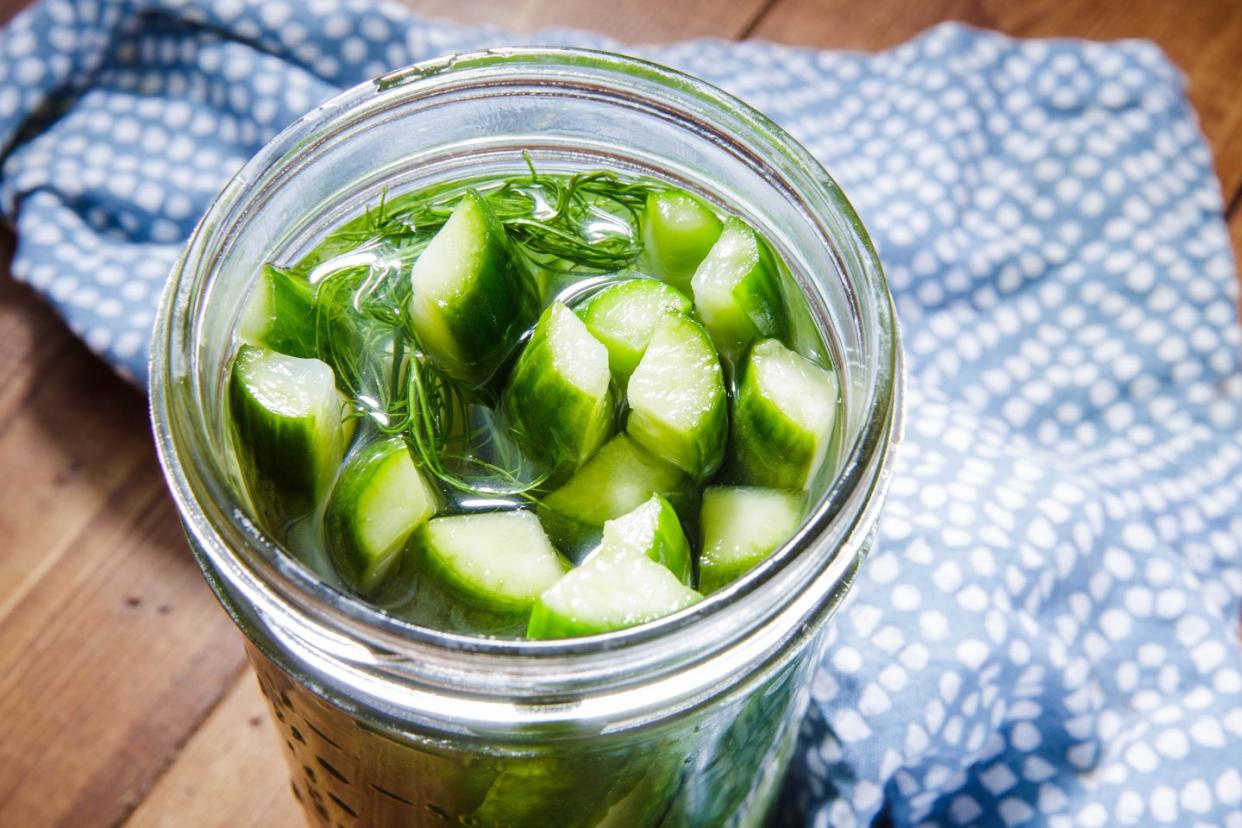
Adding other seasonings in the form of aromatics, fresh herbs, or whole spices can enhance and bring nuanced flavors to the brine. This can be as simple as throwing a smashed clove of garlic and a few sprigs of dill into a cucumber pickle brine or a few caraway seeds in with your red cabbage. When in doubt, think about the flavors that naturally fit with the vegetable or fruit you’re pickling and choose accordingly.
5. Boil the Brine
Before pouring the brine over the vegetable or fruit you’re pickling, bring the brine to a boil. Boiling the brine ensures that the salt (and the sugar, if you’re using it) is thoroughly dissolved and evenly dispersed. Don’t worry if the brine is still warm when you pour it over the vegetables or fruit; the heat will actually slightly speed up the pickling process.
6. Use a Non-Reactive Container
With such an acidic solution, avoid using any sort of reactive container, such as a metal bowl, for pickling. I also avoid plastic containers, simply because they tend to absorb the pungent flavors. Glass bowls are my go-to here, and I will typically cover them with plastic wrap before popping in the refrigerator.
7. The Final Ingredient Is Time
Most quick pickles are ready to eat in about two hours, but depending on what you’re pickling, it’s smart to leave them for longer. I typically like to give them at least four hours in the refrigerator—preferably overnight—to ensure the pickles will have ample time to chill. At this point, the pickles will stay good in the refrigerator for up to two weeks.
Once you have your pickles, there are endless ways to use them. Throw pickled red onions on a taco, toss pickled cherry tomatoes in a salad, arrange pickled cauliflower on a platter with hummus and flatbread, or spoon pickled peaches over whipped mascarpone for a sweet and tangy dessert. Or, if nothing else, eat them straight out of the jar in front of the refrigerator.
How To Make Pickles
Pickled Red Onions
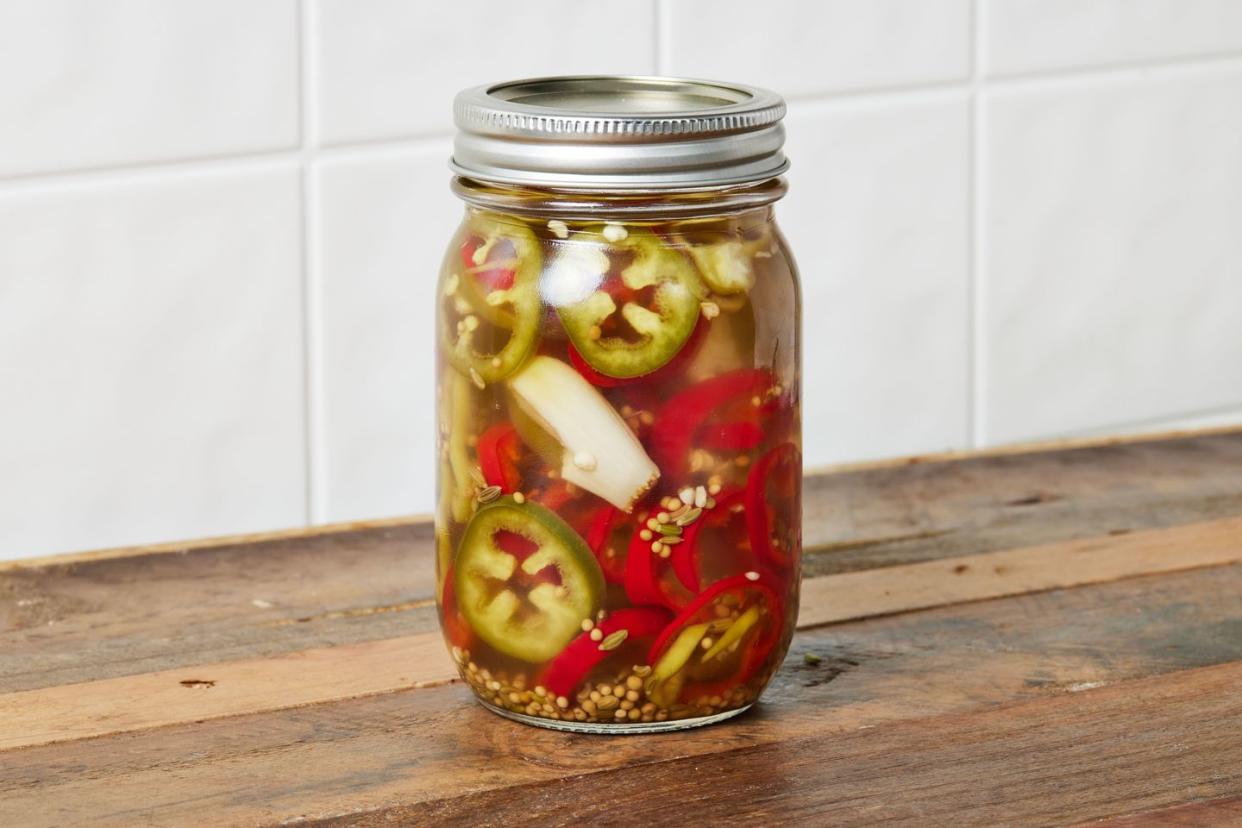
Pickled Peppers
You Might Also Like


