How to Define Your Cupid's Bow: Step-by-Step Guide
A pro’s step-by-step tutorial on defining your cupid’s bow.
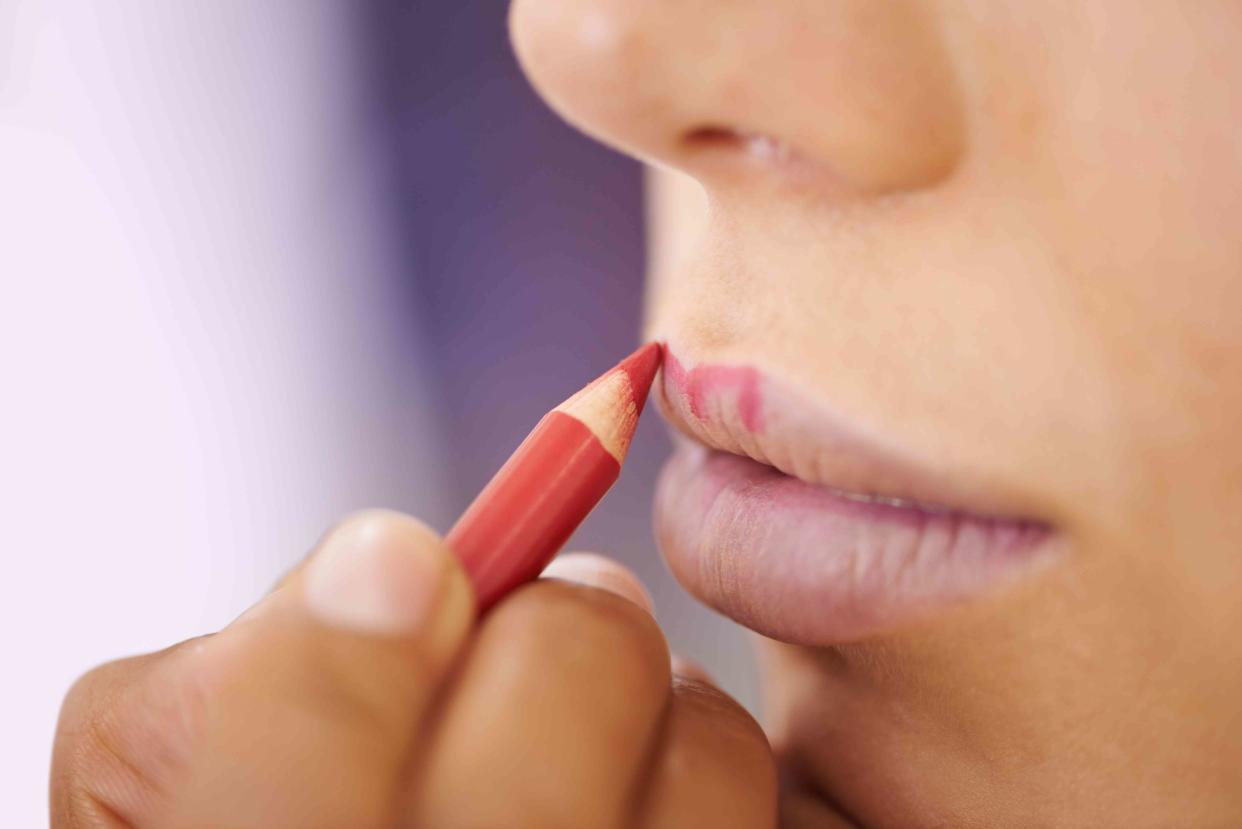
People Images/Getty Images
A soft and naturally defined lip is the path toward a perfect pout, but it’s not just achieved by swiping on some lipstick and calling it a day. There are all sorts of tricks you can use here, including using a bit of highlighter and lightly outlining your lips—including the cupid’s bow—with a lip pencil.
“The cupid's bow is the double curve of the lip that is said to resemble the bow of Cupid,” says Dominique Lerma, a celebrity makeup artist at OMNIA Brush. “There are various lip shapes and sizes and some people are born with more prominent cupid bows than others.”
Defining your cupid’s bow helps draw attention to your lips, making them look more plump, full, and prominent—with or without filler. Lerma says that careful accentuation can also lend to a more youthful and glowy look, especially if you get some highlighter involved. Ahead, we’re walking you through the steps on how to define a cupid’s bow just like a professional makeup artist.
RELATED: What Is a Double Lip Line—and How to Wear Lipstick If You Have One
How to Define Your Cupid's Bow
Step 1: Grab What You Need
You only need a few makeup staples to define your cupid’s bow.
Lip Liner/Definer
Lip Brush
Lipstick or Lipgloss
Highlighter
Step 2: Draw a ‘X’ With Your Liner
The easiest way to define your cupid’s bow is to use a lip liner or lip definer, says Drita Paljevic, head makeup artist at Kevyn Aucoin Beauty. She recommends the brand’s Unforgetting Lip Definer ($25, Dermstore). Choose the color that best matches your lip color.
Using the sharpened pencil, draw an X or V-shape right in the center where your top lip line dips. “Make sure you follow the natural line of your cupid’s bow line to accentuate the area,” Paljevic says. The idea isn’t to overline or underline, but to draw right along the line.
Step 3: Outline the Rest of Your Lips
With a light hand, continue outlining the rest of your lips with the pencil. It doesn’t need to be a hard or harsh line, but just a light marking to define your lip line. After, Paljevic says to blend in the lip liner with a brush to further prevent any rigid or obvious lines. Try the MŌDA Pro Detail Brush ($5.99, Moda Pro).
Step 4: Apply a Touch of Highlighter
Highlighting may seem like an afterthought when defining your cupid’s bow, but both makeup artists we spoke to swore by this trick. Lerma says, “You definitely want a highlighter of some sort, whether cream, liquid, or powder. I would just avoid any powder products that have a heavy glitter finish since this is going to look the least natural.”
Simply apply a tiny amount to the two distinct cupid’s bow peaks. Lerma recommends the RMS Beauty Living Luminizer ($40, QVC) “as it enhances the skin's natural youthfulness with a pearl finish.” Kevyn Aucoin’s Lighting Stick ($53, Blue Mercury) is another good one for that natural, pearlescent finish.
Step 5: Finish With Lipstick and/or Lip Gloss
Finally, “Fill in your lips with a color that is similar to your lip color, and finish with gloss or lipstick of your choice,” Paljevic says. Reapply throughout the day as needed.
For more Real Simple news, make sure to sign up for our newsletter!
Read the original article on Real Simple.
