The Best (and Easiest) Ways To Hang Pictures, According to Art Pros
Only pretty, well-decorated walls are allowed here—no damaged walls!
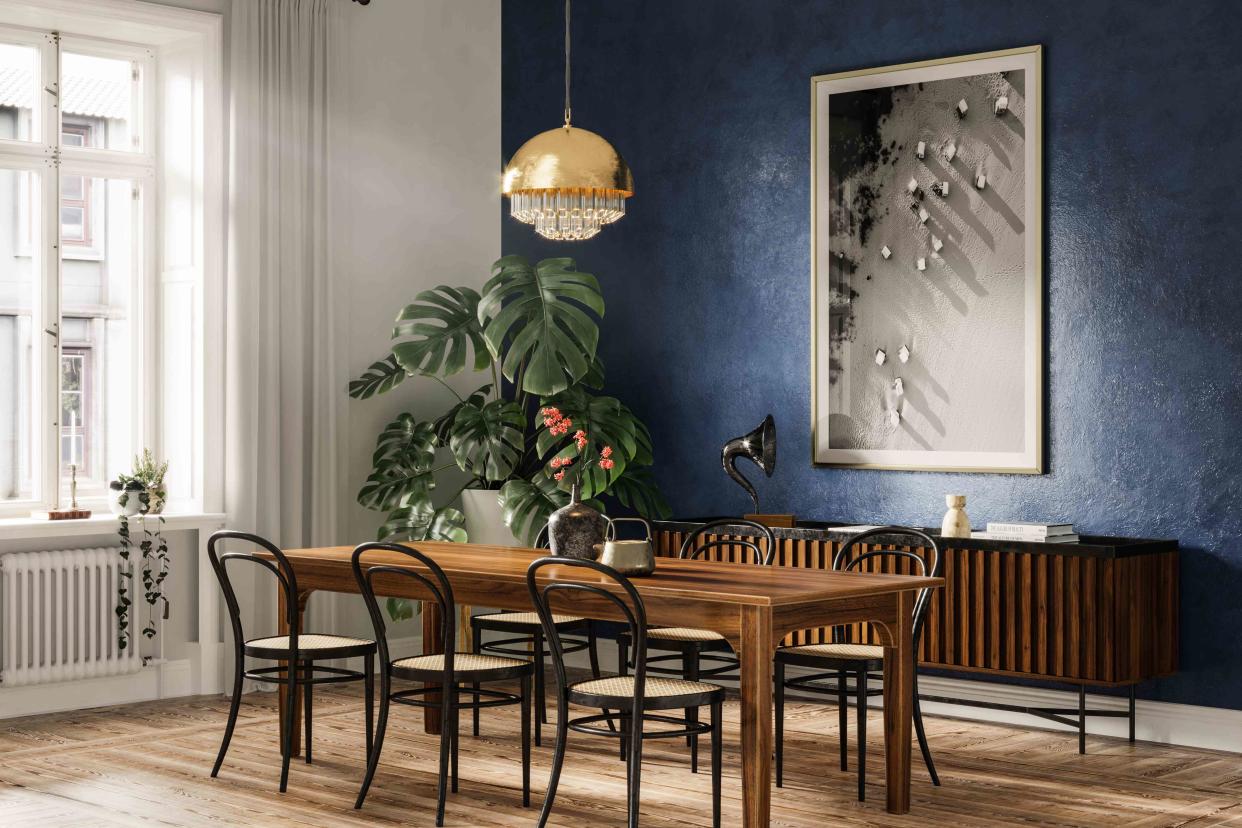
Alvarez/Getty Images
Properly displaying art is almost an art form in itself—making sure everything is level and securely hung, in addition to appropriately spaced, is always trickier than people expect. When it’s done wrong, you get crooked frames, damaged walls, or awkwardly laid-out art.
To hang pictures correctly, you should be armed with the right tools and know-how. So, we asked art and framing experts from Minted and Framebridge to give their top tips for the best ways to hang pictures, so that people can focus on the actual art and not the mistakes around it.
Meet Our Expert
Julia Lovett, Head of Marketing at Framebridge
Chrissy Morford, General Manager for Art at Minted
Related: The 18 Best Places to Buy Art Online in 2023
Use Painter’s Tape to Map Things Out
If you’re hanging multiple pieces, you’ll definitely need to plan a little more in advance. Chrissy Morford, Minted’s general art manager, recommends using painter’s tape, or even same-size paper cutouts to map out where you’ll want to hang your art. She says, “This works especially well for gallery walls and layouts where you may want to play around with placement before committing.”
Leave About 2 Inches of Space Between Frames
Trying to figure out what the “right” amount of space is between photos is always a bit of a guessing game, but it doesn’t have to be! Morford says about 2 inches between photos is ideal. “For spacing, aim to keep the space between frames consistent—two inches on each side is a good rule of thumb, but no more than 6 inches apart.”
Keep Art at Eye Level (Kind Of)
This is a common tip for hanging pictures, and it’s a good one, but it’s a bit flawed. Julia Lovett, Framebridge’s head of marketing, says, “It’s easy to say you should hang art at ‘eye level,’ but whose eye level is the question, especially if you live with someone who is a very different height than you.” She suggests, instead, hanging your art so that the vertical center (the mid-point between the top and bottom of the frame) is at about 57 inches above the floor.
She adds, “That goes for single pieces, like photos, paintings, and posters, as well as multi-frame arrangements like gallery walls. If you’re hanging frames above furniture like a couch, bed, or desk, we suggest the bottom of the frame should be 7 to 10 inches above the top of the furniture.”
Check the Back of the Frame
Just like people, not all frames are built the same. Some have wire backing, others have sawtooth brackets. A few have rings. This will affect how you hang your art. No matter what, you should always mark your wall at the top center of where you’d like your art piece to go.
Then, Morford explains, “For example, art with hanging wires—decide where you’d like your art to go. Next, determine the position of the nail or hook and measure the distance from the top of the tightened hanging wire to the top of the piece. Measure the same distance below the mark on your wall. Firmly secure a nail, hook, or screw into a stud or anchor, then hang your art!”
She adds that sawtooth Brackets allow for easy on-wall adjustment. “The bracket and nail do not have to be exactly parallel as the sawtooth design will easily correct the variance.” As for frames with rings, you’ll need two nails versus just one.
Related: How to Pick the Best Picture Frame Color and Style for Artwork
Pick the Right Hardware
Other than some nails and a hammer, you might need a few extra things like a stud-finder (so you’re not trying to hammer a nail into the metal frame of your home!) and wall plug anchors for heavy pieces. Lovett recommends the brand OOK for their broad range of quality picture-hanging hardware.
If you’re nervous about making holes and damaging your walls, you can totally still hang your pictures without nails. Command Strips are excellent for items lighter than 20 pounds, but Morford swears by 3M’s Claw Picture Hangers for heavier things. She says, “We love them. They are fool proof for large format pieces, heavy, or in-the-way artwork installed near doors or high-traffic areas. They keep pieces in place even if a door slams.”
The easiest, best way to hang art without damaging your walls is to simply not hang them at all! Morford suggests leaning frames against the back of a chair, wall, or on a shelf. “Even homes with lots of art hung up on the walls take well to a few casually leaned pieces—it actually looks intentional.”
Use a Level
Once you’ve hung your art, make sure it’s perfectly even by using a level so your home isn’t mistaken for a zany, topsy-turvy fun house. Life hack: Many smartphones have a level function on them! Lovett says, “Just align the level to the top edge of your picture frame and tweak the alignment until the bubble is centered in the vial. If you don’t have a level tool handy, check out the measure tool on your phone. It’s a quick, handy, and accurate tool to get your frame just right.”
Related: Focus on This Overlooked Decor Element To Instantly Transform a Room
For more Real Simple news, make sure to sign up for our newsletter!
Read the original article on Real Simple.
