Reincarnations: Awakening Walkthrough, Cheats and Strategy Guide

Reincarnations: Awakening Walkthrough
Welcome to Gamezebo's walkthrough for Reincarnations: Awakening.
Navigation
0.General Tips
I.Introduction: Jane's Office
II.Chapter 1: Dr.Herzle's Mansion
III.Chapter 2: Abuja & the Buddha Temple
IV.Chapter 3: Stefan & the Prison
V.Chapter 4: Jilberto & the City Square
VI.Chapter 5: Buggy & Life in Paris
VII. Chapter 6: Albertina & the Observatory
0.General Tips
Clicking on the picture of the character displayed in the lower right corner of the screen will allow you to see your current task at hand.
Hints can be used to reveal items in hidden object areas. A bright circle will form around the object needed. Hints are unlimited and refill after an allotted amount of time.
Puzzles can be skipped.
Puzzle solutions, goals, notes, and fun facts for each character can be viewed by clicking the Diary in the lower left area of the screen.
The navigation arrows that appear in the lower corner of a scene from time to time will allow you to move around from area to area.
Items illuminated in orange on a hidden object list require you to interact with the environment in some way, or complete a small task to cross them from the list.
Quitting the game will automatically save your progress and you will resume where you left off.
I.Introduction: Jane's Office
The game begins in Jane's Office. You can immediately chose whether or not you'd like the tutorial introduction.
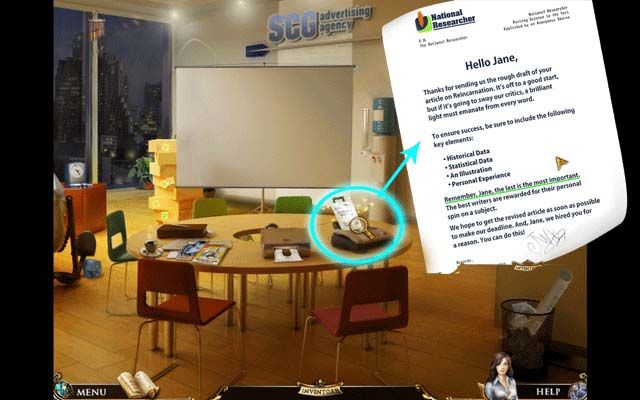
Click on the newly received fax on the table. You'll receive a letter from the National Researcher encouraging you in your article and letting you know what you'll need next.
Click on the sparkling area on the left "Zoom in on Drawer"

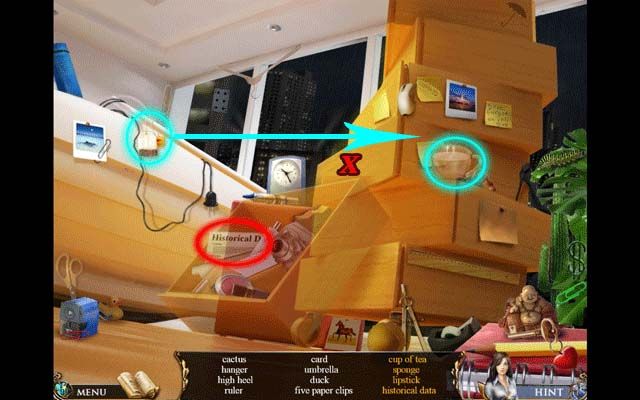
In the hidden object area, objects in orange will require some sort of interaction. In this case, the tea bag needs to be used with the cup of hot water to make tea (circled in light blue), click the finished product to cross it from your list. All other objects listed in orange are hidden in the drawer. Click on the location of the red "X" in the screenshot to make the drawer fall and pick up the remaining items, including the Historical Paper circled in red. At the end of the area the Historical Paper will be added to your inventory.
After finishing the first hidden object area, a (1)CD will be slipped underneath the door. Pick it up and (2)use it on the Projector.
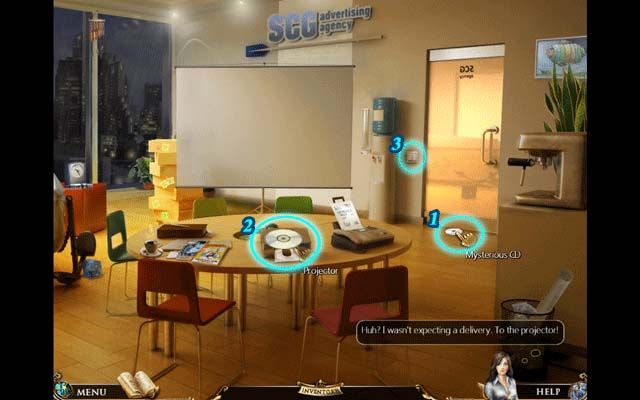
(3)Turn off the lights and click on the projector again to start it, watching a short film. Once it's finished, click on the arrow on the left to continue to the next area.
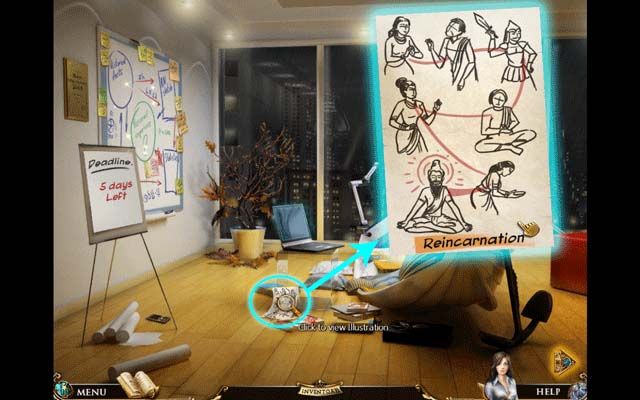
In the next area, look at the paper on the floor. Click on it for a closer look at the Illustration, and click it again to add it to your inventory.
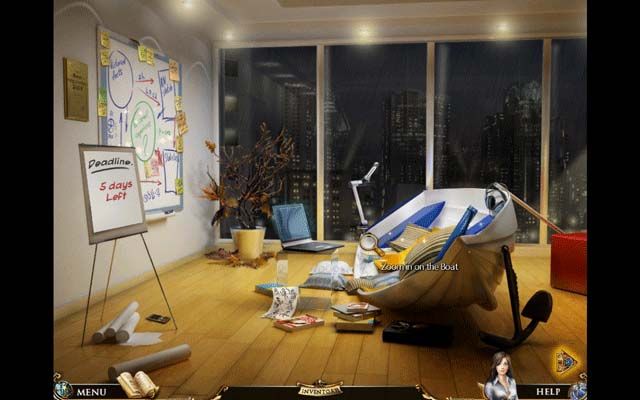
Click on the boat in the middle of the room for a closer view.
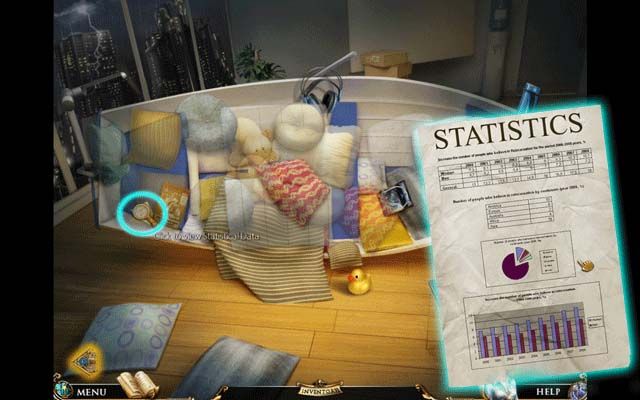
In the close-up of the boat, you'll need to move the pillows to check underneath them by clicking and moving the mouse. The picture below shows where the Statistics sheet is that you're looking for, though it can also be located under other pillows. Once collected, click again to add it to your inventory.
Once finished with the mini-game, click on the Whiteboard on the left wall to zoom in.
Once zoomed on the Whiteboard, you'll need to place the various sheets you've collected in their proper places. It's not difficult. Match "Historical Data" to "Historical Facts", "Illustration" to "RN Sketch", and "Statistics" to "Statistics". Once you've done this, you'll be able to pick up the Password circled in blue at the bottom of the Whiteboard.

Once you've picked up the Password, your phone will ring. Pick it up to read the message. Once you've read it, click it again to close the close-up and click on the laptop circled in red.
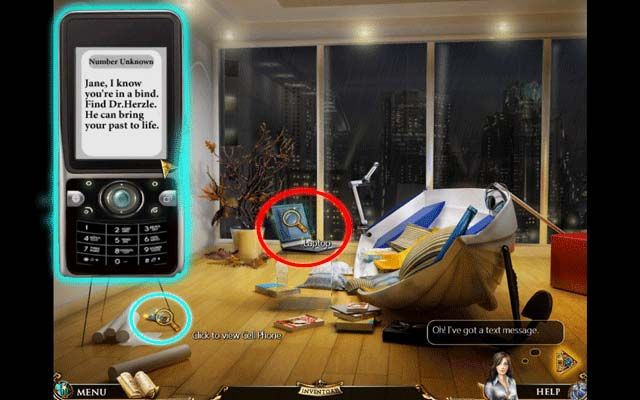
Now zoomed in on the laptop screen, click and type to enter the password. Note passwords are randomized, and the password may also appear as "tree" or "truth". You can use your keyboard or the one on screen to type the password. Hit enter once you've finished.
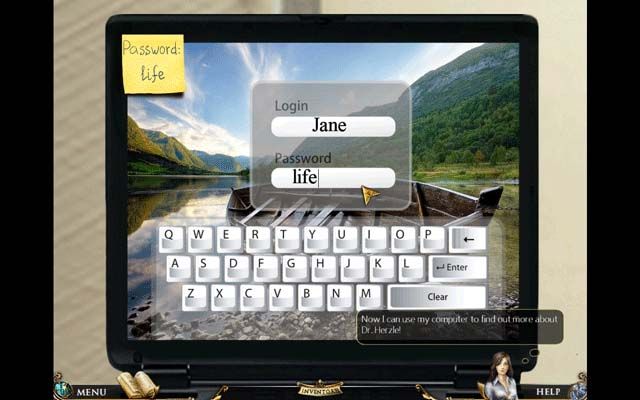
"Doctor Herzle" will appear in your search bar. Click "search" to continue. Read the message provided, and click "OK" to read the next one. Finally it's time to make an appointment. After Jane types in the information, click "Submit" and "OK" to finish.
II.Chapter 1: Dr.Herzle's Mansion
Outside
You'll now find yourself in front of Dr.Herzle's Mansion. Click on the door to enter a mini-game puzzle.
The goal here is to match the images on the tiles until every one has been matched. Click on a tile, and then another one to compare them. Once you've completed the puzzle, the door will open.
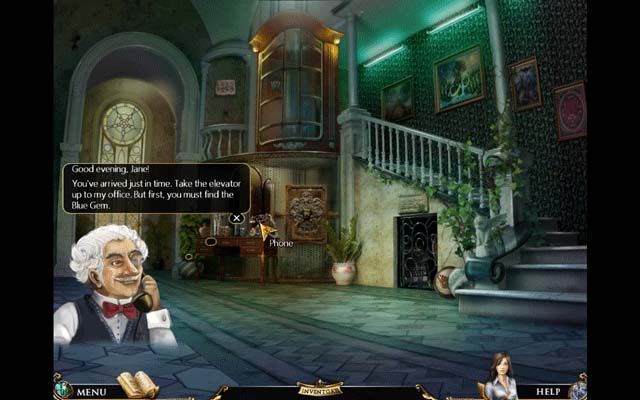
Hall
Upon entering the mansion, the phone inside will ring. Pick it up to talk with Dr.Herzle, who insists you need to find the Blue Gem before coming up to see him.
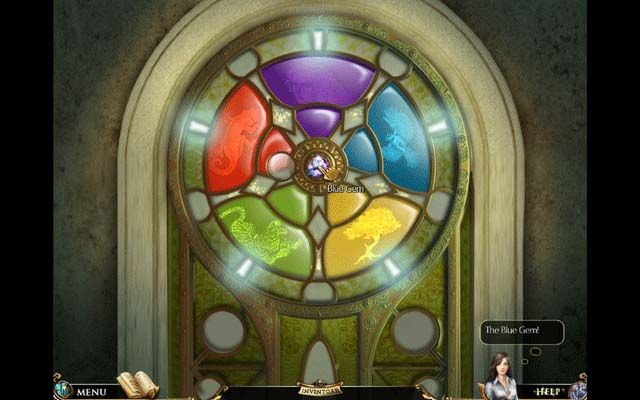
Click on the Stained Glass Window at the end of the hall on the left side for a closer view.
Upon closer view, you'll enter a mini-game. The goal here is to match the inside and outside segments of Reincarnation's Wheel. Clicking on the various segments will allow you to move them in different ways. Clicking on an inside segment will allow you to swap colors with the outside one, while clicking on an outside segment allows you to rotate it around the wheel on the outside. The reward for completing this puzzle is the Blue Gem.
Exit back to the hallway and click on the Elevator. You'll discover it's out of order and needs to be repaired. Click on the Elevator control panel for a closer look.
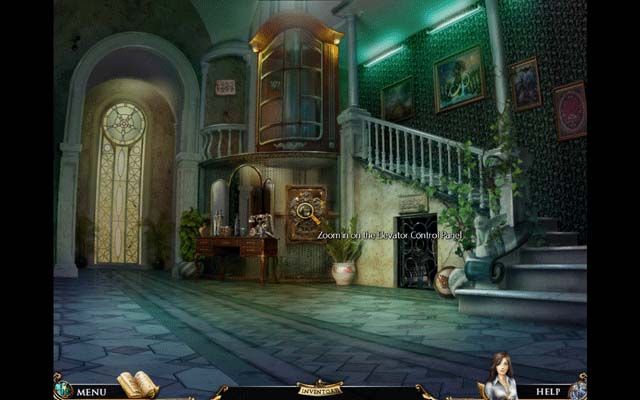
On closer inspection, components mandatory for operating the elevator are missing. You'll need to look in different areas to find them. Click the arrow on the lower left to exit back to the Hall.
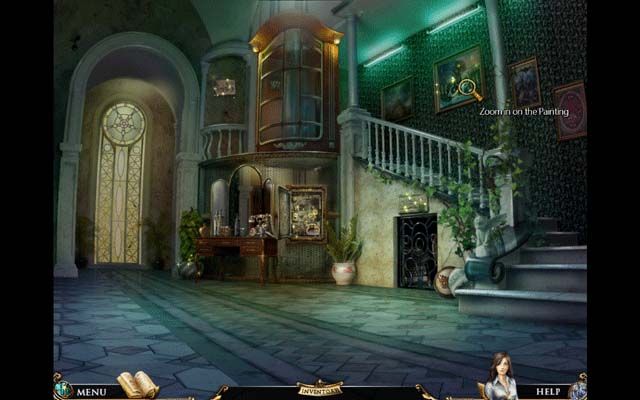
Zoom in on the Painting on the wall for a closer look.
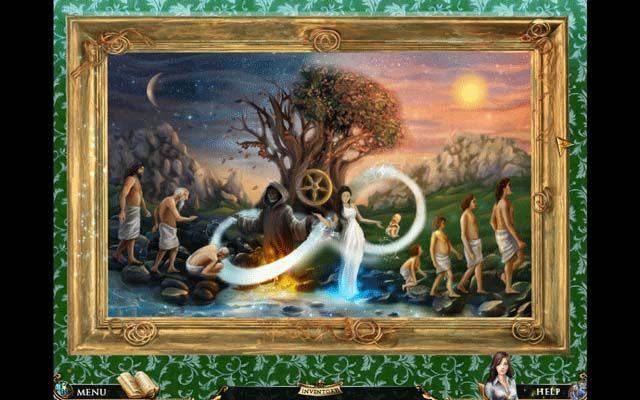
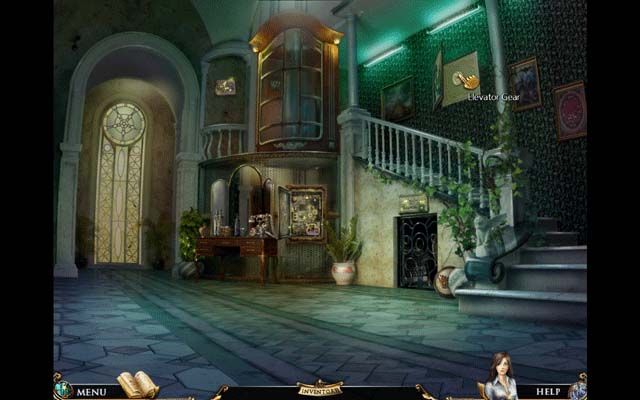
The goal of this puzzle is to restore the painting to its original state. Click on any tile, and then a second to have them swap places. When you've placed a tile correctly, it will lock into place. When swapping tiles, you'll be allowed a brief glance at the correct pattern underneath. Restoring the painting will reward you with the Elevator Gear.
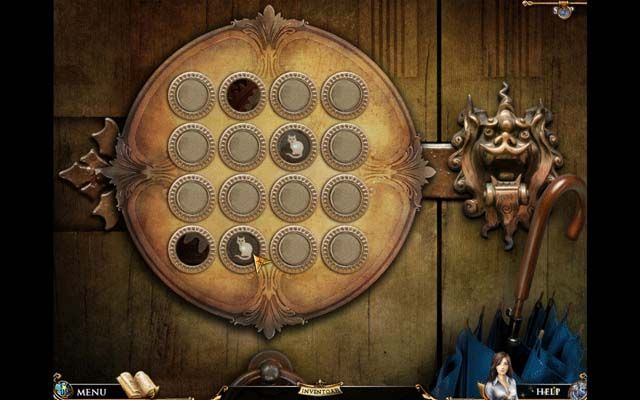
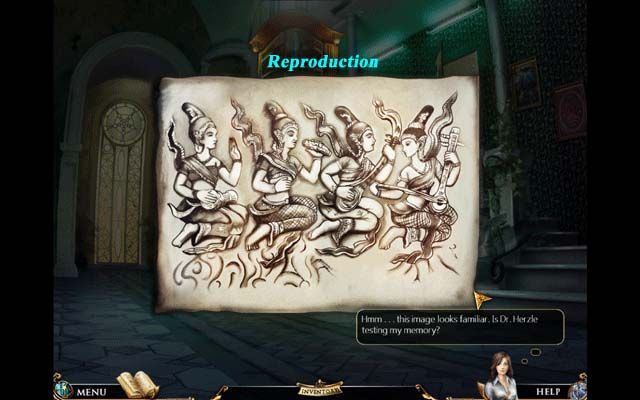
Now it's time to find the second missing elevator component. Click on the Reproduction to the left of the elevator to find a picture of four Thai women. Click the Relief below the stairs to enter the puzzle. Your memory is going to be tested here.
The goal of this puzzle is to alter the Relief to match the Reproduction picture by clicking the hands, heads, and feet of the four women. The Reproduction picture and the solution for the Relief are pictured below. The starting positions of the women are randomized, but the solution is always the same. Completing the puzzle will open the door beneath the Relief.

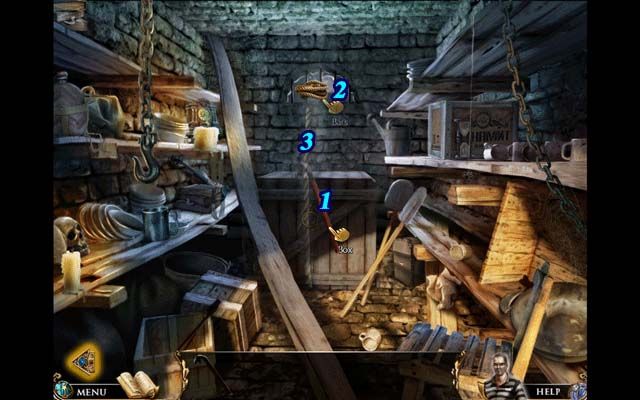
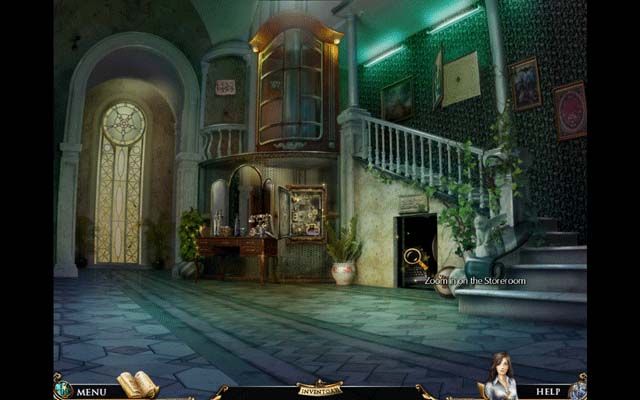
Zoom in on the Storeroom beneath the Relief to enter another hidden object area.
In addition to the various items in white type on the list (which are randomized), there are 3 special ones: Jack-in-the-Box, Music notes, and Flower.
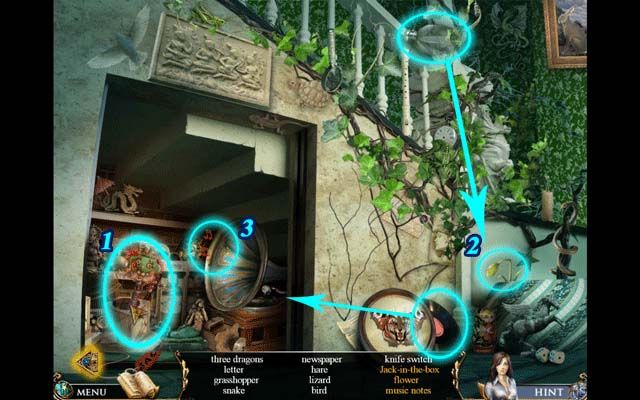
(1)Click on the red "Jack" tag in the bottom left hand corner to bring the Jack-in-the-Box out from hiding. Click on it to strike it from the list.
(2)Click the Record and place it on the Gramophone to make it play. Music notes will appear. Click them to strike them from the list.
(3)Pick up the Water Bottle and use it on the Plant to have it grow into a Flower. Click on it to strike it from the list.
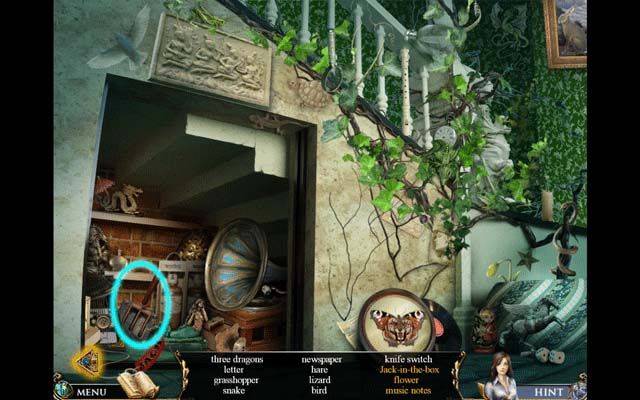
One of the elevator components is hidden in this area: the knife switch. Refer to the image below for the exact location. Once you complete this hidden object area, the knife switch will be added to your inventory.
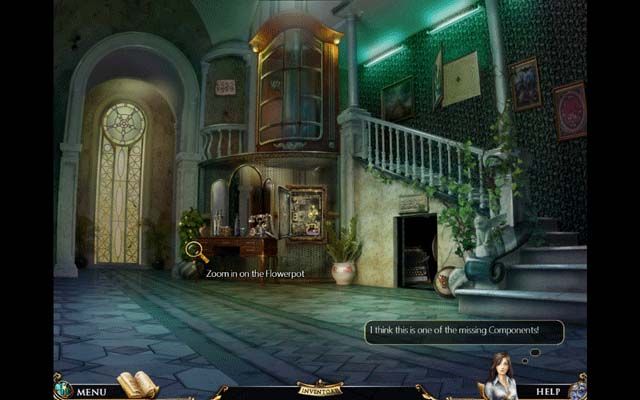
Click to zoom in on the Flower Pot to the left of the desk. In the close-up, pick up the Elevator Light Bulb to add it to your inventory.

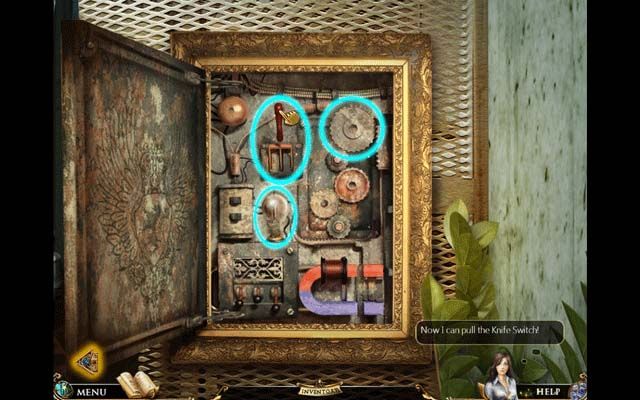
Now it's time to fix the elevator. Click on the elevator control panel to the right of the desk and directly below the elevator to zoom in for a closer view.
Place the elevator components from your inventory into their proper places, shown in the screenshot below. Once you've placed them all in the correct spot, click the knife switch to restore working order to the elevator.
Now click on the elevator to ascend to Dr.Herzle's office.
Dr.Herzle's Office
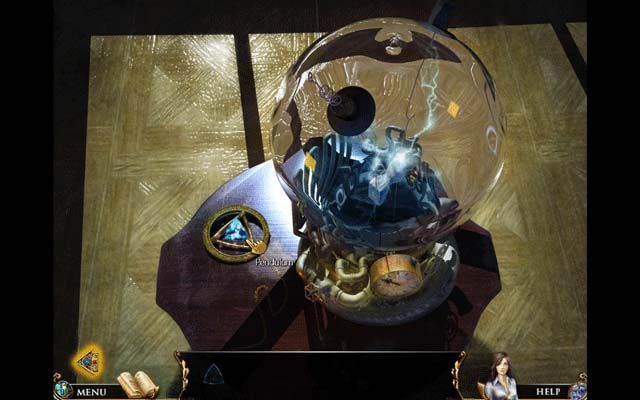
After talking with Dr.Herzle, click on the Aura Crystal on the table in the center of the room to zoom in.
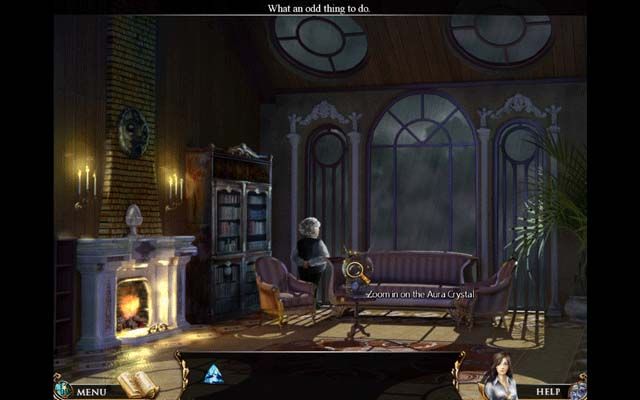
Use the Blue Gem on the Pendulum to activate the Aura Crystal.
Click on the armchair nearest to Dr.Herzle to have Jane sit down.
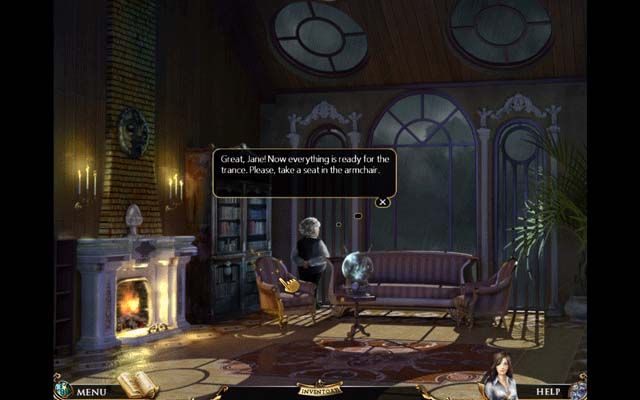
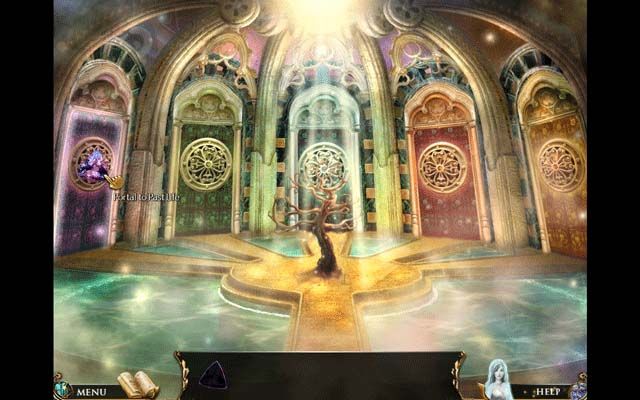
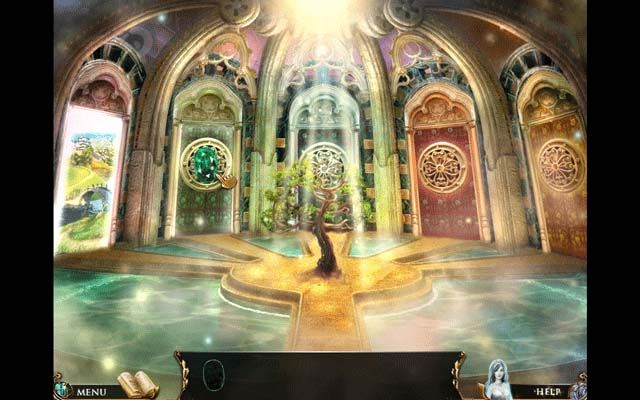
Dr.Herzle will hypnotize Jane, who then enters her subconscious, which contains the portals to her past lives. Use the Purple Gem you've been given in your inventory to activate and open the purple portal on the far left. Click on it to enter a past life.
III.Chapter 2: Abuja & the Buddha Temple
Outside Temple Grounds
Click on the Wish Tablets on the left to enter a close-up view.
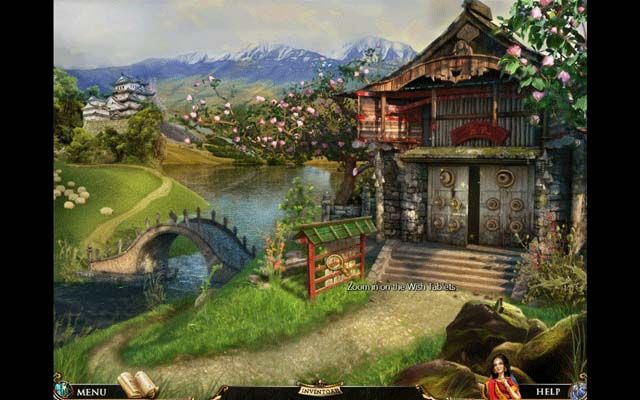
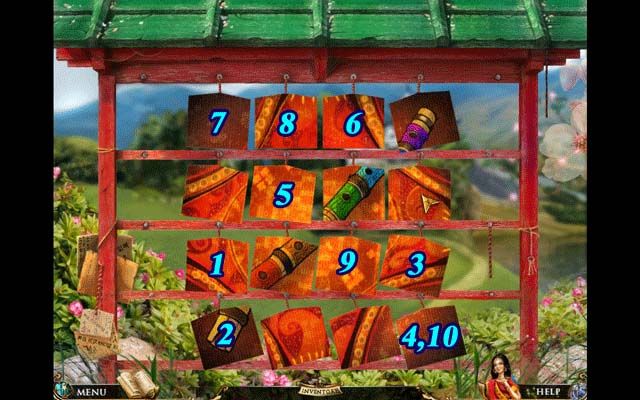
The goal of this mini-game is to flip all the tablets over to their colored side. Clicking a tablet will result in tablets around it flipping. Some overlap on which they flip. Click the following tablets in the following order to solve the puzzle and reveal the picture shown below. Your reward will be the Manual.
Click on the large double doors to enter the Temple.
Temple
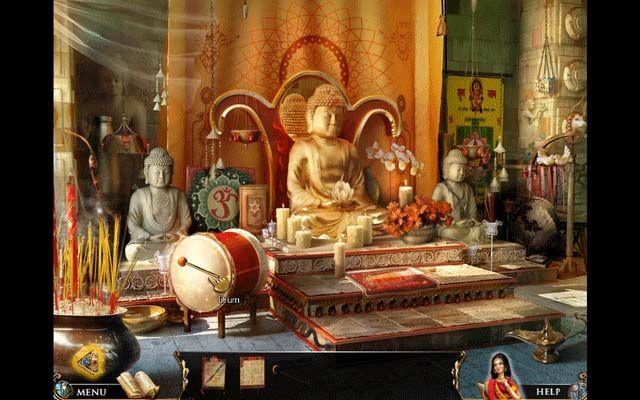
Once inside the Temple, click on the Broken Meditation Mat directly in front of the Buddha statue to enter a mini-game.

Click on the loom with different colored threads to tie a knot where it should be located: your reference image is at the top of the screen. Simply click wherever a certain colored yarn is needed. You can change colors by clicking on the various yarn balls on the right (note: yellow=orange). The solution is shown above. Completing this mini-game successfully will reward you with the Melody Scroll.
Once the mat is repaired, zoom in on the Wheel on the far right of the screen. You should notice the area sparkling. Click on it to enter a hidden object area.
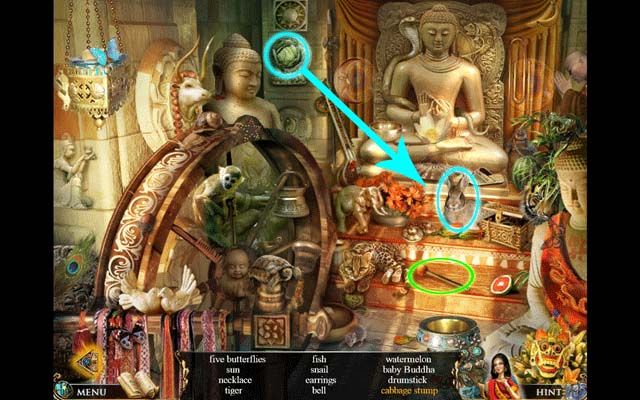
Click the Cabbage and use it on the Rabbit (both circled in blue). The Rabbit will eat the cabbage, leaving you with the Cabbage Stump. Click on it to cross it from your list.
The Drumstick (circled in green) is another item you'll need to collect. Once you complete the area, it will be rewarded to you as an inventory item.
Back in the main area of the Temple, use the Drumstick on the Drum to have a brief conversation with the Buddha, who implores you to find his lost third eye. He informs you that Kung Fu Cha (Tea Ceremony) will help.
Exit the temple and proceed to the Tea House in the distance in the upper left corner of the screen.

Tea House
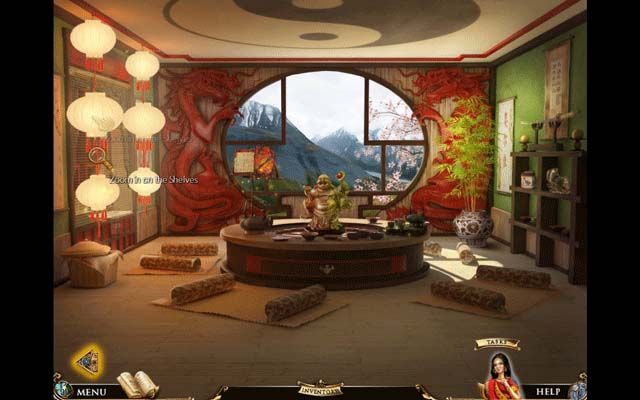
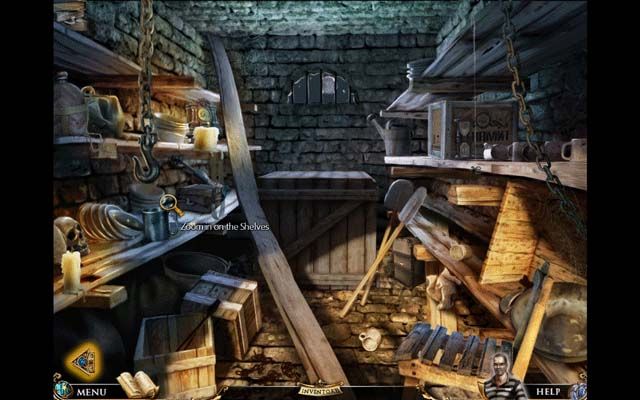
Click on the blinds on the left to lift them. Click again to take a closer look at the Shelves.
You'll find yourself in another hidden object area. All important objects have been circled and identified by a specific color:
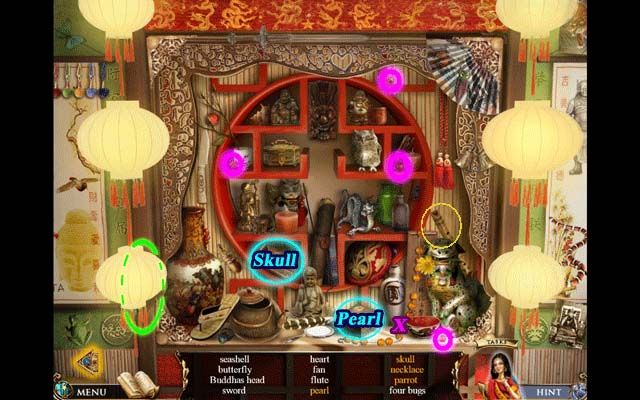
-Blue: the Pearl and the Skull can be found inside these jewelry boxes
-Green: the Parrot is hidden here. Click and drag the lanterns side to side to reveal it and click it, crossing it from the list.
-Magenta: the circles indicate the locations of the four missing beads you'll need to complete the necklace. The necklace itself is marked with an "X" of the same color.
The Flute (circled in yellow) will be added to your inventory once you complete the area.
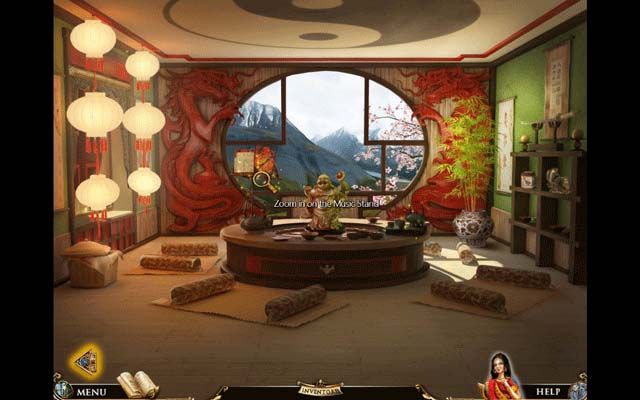
Back in the main room, click on the Music Stand to zoom in.
Place the Melody Scroll and the Flute Picture on the Music Stand. Take the Flute from your inventory and place it over the Music Stand as well. Clicking will allow you to begin the mini-game.
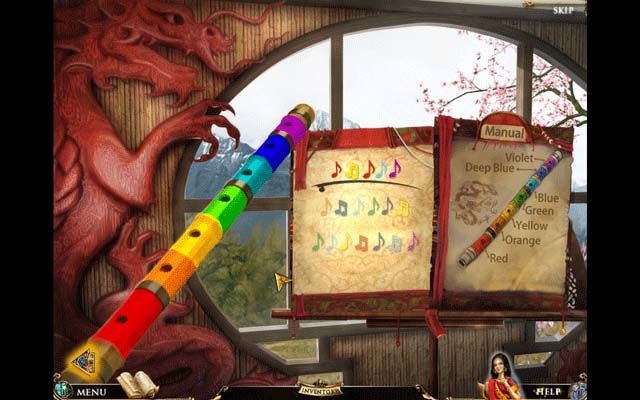
The actual Flute you'll be using has been colored in this picture to match the diagram on the right to make it easier for you. Play the notes in order as they appear on the Melody Scroll, each note corresponding to a specific hole of the flute via color. Octave notes (double notes, aka two notes grouped together) are to be played twice before moving on to the next one. Playing the melody successfully will allow you to begin brewing the tea for the ceremony.

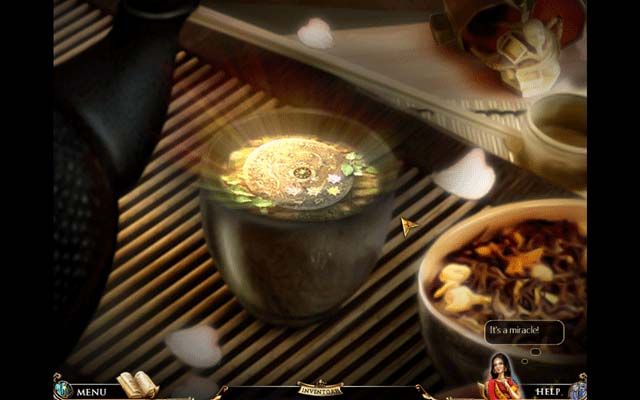
Click on the Tea Table to zoom in and begin brewing the tea.

It's time to make the tea. The sequence shall be numbered according to the picture above. Use the labels for reference.
1.Click the Kettle and use it on the Teapot
2.Click the Teapot and use it on the Tea Tray
3.Click the Tea Leaves and use them on the Teapot
4.Click the Kettle and use it on the Teapot
5.Click the Teapot and use it on the Cup
Once completed, a vision will appear to you in the Tea, revealing a Shield near the Temple. Click anywhere to exit and return to outside of the Temple.
Outside Temple Grounds
Back outside the Temple Grounds, click under the Bridge to zoom in to another hidden object area.


In addition to the other randomized objects you will need to:
1.Pick up the Garden Shears
2.Use the Garden Shears on the Rope to make the Dragon on a Rope appear
3.Click on the Dragon on the Rope to cross it from your list
When you've completed the area, the Garden Shears will be added to your inventory.
Back in the main area, use the Garden Shears on the Big Shrub to the right of the Temple.
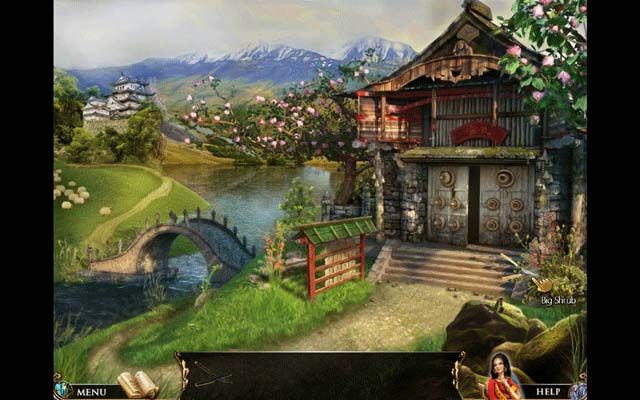
This will reveal the Shield. Click on it to zoom in and enter another mini-game.
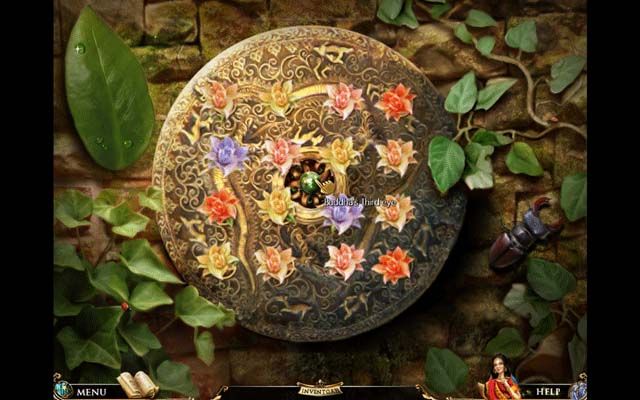
Open all the flowers to reveal the treasure inside the shield. You'll only be using the red orbs for connecting. Connect lines between them to open flower buds. The solution is as follows:
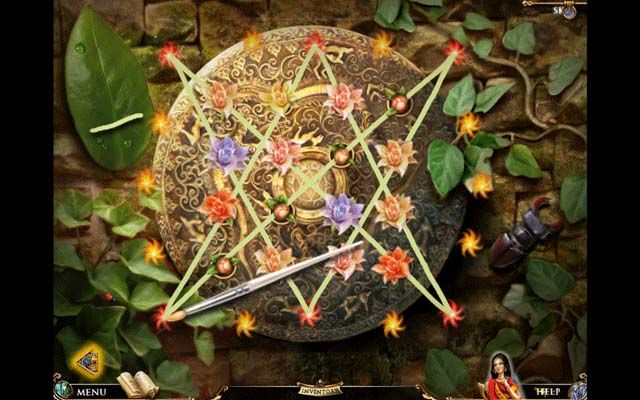
Completing the puzzle will reveal Buddha's Third Eye. Pick it up to add it to your inventory.
Enter the Temple
Temple
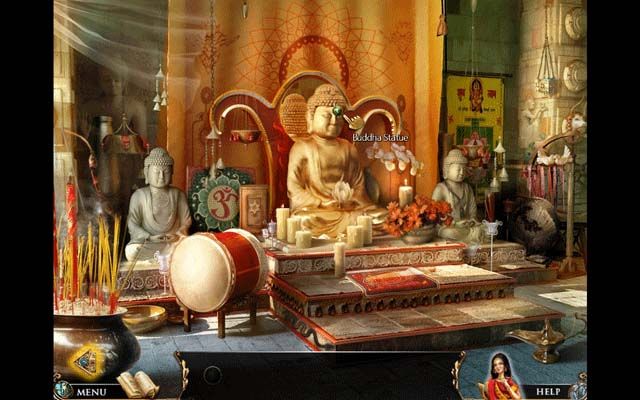
Use Buddha's Third Eye on the statue to achieve the peace Abuja seeks. The statue will reveal a Green Gem for you.

Pick up the Green Gem from the Buddha's hands to add it to your inventory.
IV.Chapter 3: Stefan & the Prison
Subconscious
Back in your subconscious, use the Green Gem on the green doorway to open the next portal to your past reincarnations.
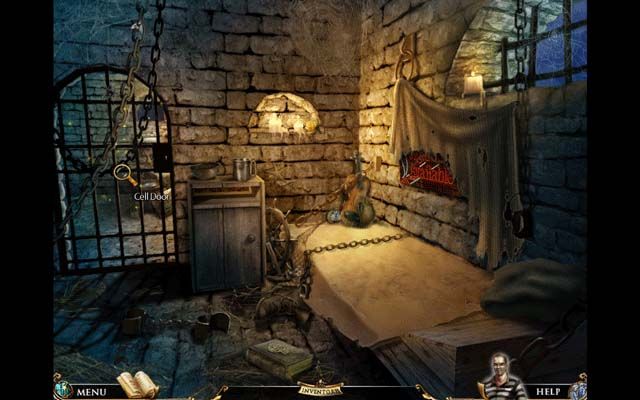
Prison Cell
You'll find yourself as a man in a prison cell, plotting to escape. Click on the bed to get a closer look underneath.

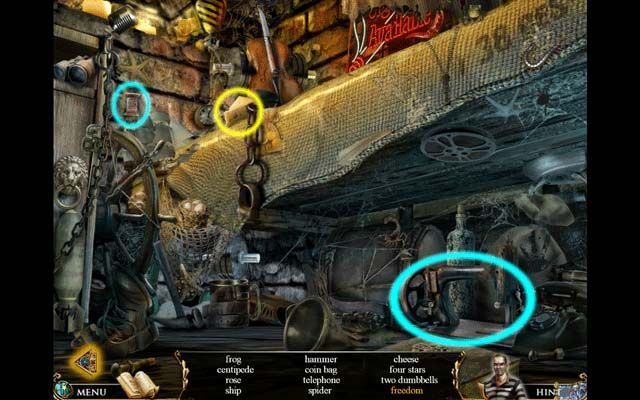
The Cheese, which will be added to your inventory upon completing the area, is circled in yellow.
To cross "Freedom" from your list, click on the Spool of thread and use it on the Sewing Machine, which will in turn sew "Freedom" on a cloth. Click it to cross it from the list (all circled in blue).
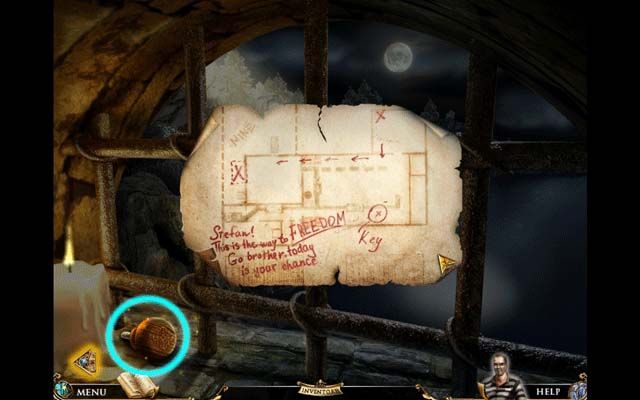
After completing the area, back in the main cell click on the "Glimpse of Freedom", aka the cell window in the upper right corner.

Click on the Secret Message in the window bars to reveal a small map, and click the Cupboard Handle to add it to your inventory.
Back in the main cell area again, use the Cupboard Handle on the Cupboard.
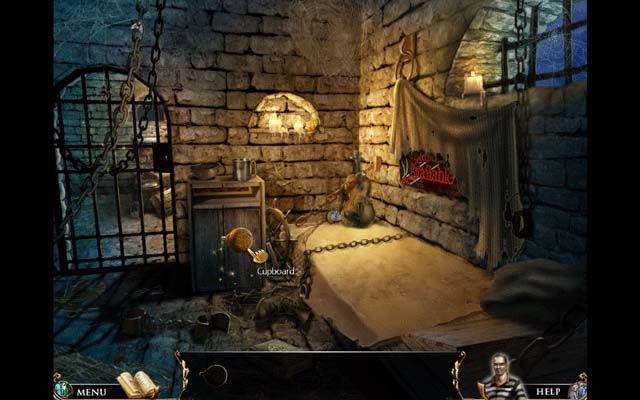
Click on the Rat inside to pick it up and add it to your inventory, then click on the Cell Door for a closer view.
Click on the Rat in your inventory and place it on the floor. Click the Cheese to use it to direct the rat around the area. The goal is to get the Rat to knock down the Key on the upper shelf. White circles will flash and appear on a regular basis showing you where to go. Click on those white circles to throw a piece of cheese, and the Rat will follow. Remember the goal is to move forward and/or up: don't click on a circle that's already been clicked on, otherwise you'll just backtrack. The Rat will climb from the left to the far right side of the room before heading for the key.
Once the Rat reaches the key, it'll knock it down for you. Click on the Key on the floor to add it to your inventory.
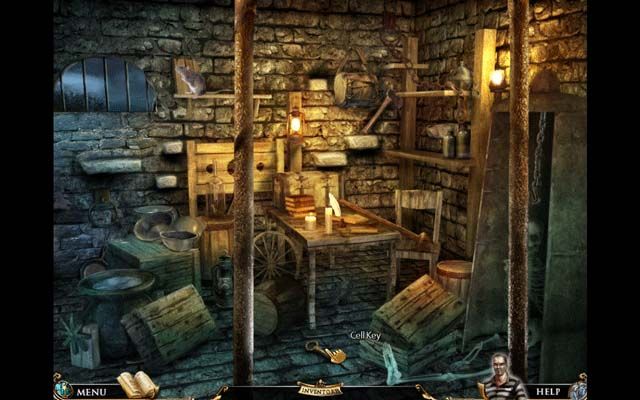
Use the Key on the Cell Door Lock to open it and click on the doorway to exit the cell.

Now in the Hallway, pick up the Rope in the bottom right corner.
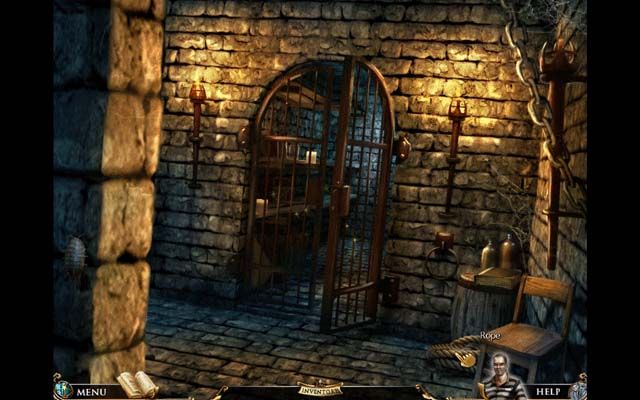
Click on the Storeroom doorway directly in front of you to continue into the Storeroom.
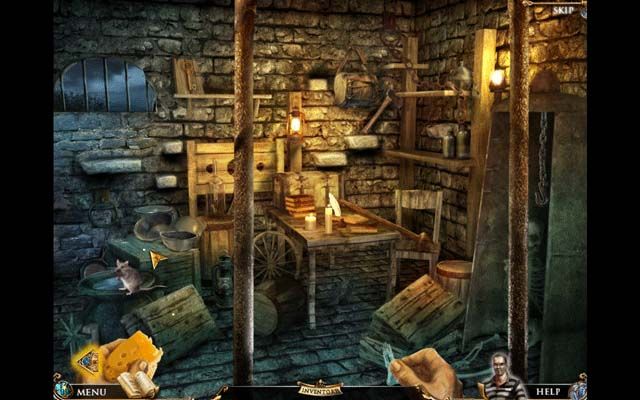
Storeroom
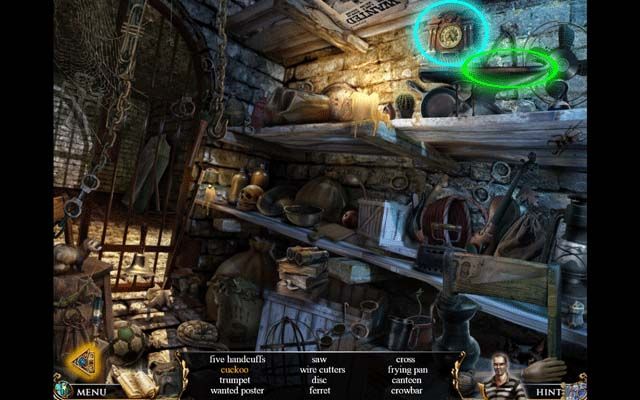
Now inside the Storeroom, click on the Shelves on the left to zoom in to another hidden object area.
Among the randomized objects listed at the bottom of the screen that you'll need to find, there's two constants.
-Click on the Cuckoo Clock (circled in blue) to make the Cuckoo bird appear. Click on it to cross "Cuckoo" from your list.
-The Crowbar, which will be added to your inventory upon completing the area, is circled in green.
Now that you've got the Crowbar:
1.Use it on the Box at the far end of the Storeroom beneath the window.

2.Use the Rope on the window bars.
3.Click on the Rope to climb down to the Mine.